How To Setup the Linux x86 Cross-Compile Toolchain for UE4 On Windows
This document serves as a lean and mean guide to setting up the Linux x86 Cross-Compile Toolchain for Windows. The process is already mostly animated by Epic but the existing documentation is a bit verbose.
Requirements
- For 4.9.X or older, you need Visual Studio Community Edition 2013
- For 4.10 or newer, you need Visual Studio Community Edition 2015
- Make sure you install Visual C++. 2015 doesn't do this by default
- During installation, choose Custom, not Typical
- Make sure Visual C++ and all children are selected
- If you skipped installing Visual C++ and Unreal Engine 4 is complaining about not being able to find it, you can fix this by: re-running the downloaded installer and choosing "Modify", then selecting Visual C++ and clicking "Update".
- Unreal Engine 4 compiled from source code
Installation
- Open the automated PowerShell script in your browser.
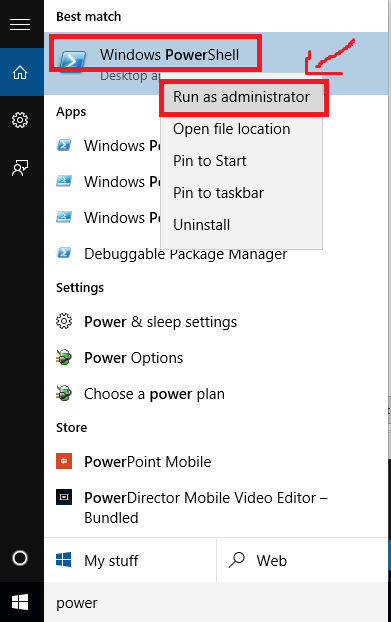
- Open up an instance of PowerShell as an Administrator. You can do this by searching for PowerShell in your start menu, right clicking it, and clicking Run As Administrator.
- In your browser, copy the entire script to your clipboard. You can do this by hitting Control+A and then Control+C.
- Paste the script into Powershell using Control-V, and then hit Enter to execute the script.
- PowerShell will then download and automatically install the Linux x86 Cross-Compile Toolchain. This will take some time. The download is around 200MB.
- When the PowerShell script is done, it will look something like this.

If you get a big red error that looks something like this, you did not run PowerShell as an administrator in Step 2.
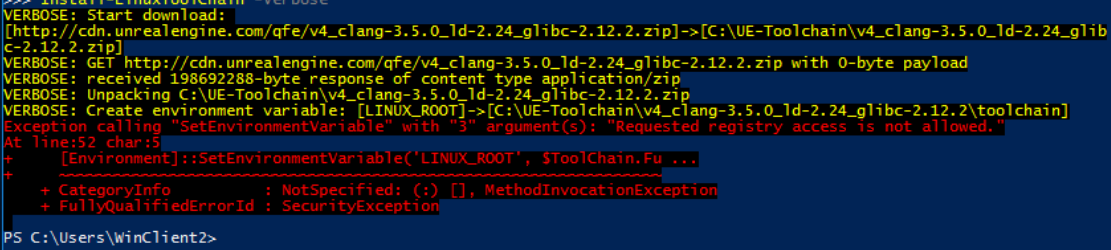
Please go back to Step 2 and repeat the process. The script will ask you if you would like to overwrite and replace files if you run it a second time, please do. Go to jail, do not pass go, do not collect $200.
- You can then close the window, PowerShell is no longer needed.
- With the Linux x86 Cross-Compile Toolchain installed, you need to download the Linux UE4 dependencies. To do this, go to your Engine build where you should have a batch file called Setup.bat that you used to initially set up your Engine. Go ahead and simply run this again. If it asks you if you want to overwrite changes you have, I recommend saying Yes as you can always rebuild those files later if needed, but saying No should also work. Setup.bat will now download all the Linux dependencies you need.
- Regenerate your project's Visual Studio project files by right-clicking your project's .uproject file and choosing "Generate Visual Studio Project files". This is the same as Step 6 in the "Convert your BP Project to a C++ Project" tutorial.
Verify It Works By Compiling for Linux x86
- Open up your project's Visual Studio solution file. This is the .sln file that you opened in the "Convert your BP Project to a C++ Project" tutorial if you came from there.
- Make sure your project is selected in the Solution Explorer.
- You should now see the Linux option under the Platforms drop-down. Select it. If you don't see it, then your toolchain is not installed correctly, you did not run Setup.bat after installing the toolchain to pull down the Linux dependencies, or you did not regenerate your project files.
- Change the Build Configuration drop down to "Development". This tells Visual Studio to build the Linux binary for your packaged game.
- Right-click your project in the Solution Explorer and hit Build.
- Your build should succeed without issues, unless you have some custom code causing problems on Linux.
- Now you can package Linux x86 builds of your game using the UE4 editor! To do this, use File -> Package Project -> Linux, and the rest is the same as packaging for Windows.